
Slicked-back hair is no longer a trend – it’s a way of life! The sleek bun, the glossy bun, the ballerina bun, whatever you call it, it’s here to stay. The look is completely versatile, whether you’re popping to the shops or going to the gym, gracing a red carpet or strutting a catwalk, there’s an enviably smooth, chic look for you, with endless variations to tailor the style to best suit you.
The hairstyle is a celebrity favourite – with Kendall Jenner and Hailey Bieber amongst its biggest fans, and runway models like Bella and Gigi Hadid gracing us with their take on the look. Kim Kardashian’s famed hairdresser Chris Appleton has even created a tutorial!
The sleek bun has also been iconic amongst the viral ‘Clean Girl Aesthetic’ TikTok trend – minimal, chic, and easy to achieve, the hairstyle has a huge (and still growing!) fan base, spanning all age groups, hair types and lengths.
What we love most about the sleek hair bun is that it doesn’t matter if your hair is freshly shampooed or wash day is pending, you can use your hair’s natural oils to assist you with achieving a perfectly smooth finish. The tighter your sleek bun the better – providing a cheap alternative to a facelift! We will talk you through how to do a slicked-back bun below, using hair extensions and accessories.
1. First consider where you want to part your hair – middle, side, zigzag? Begin by brushing through your hair to remove any tangles, then use a sectioning comb to create a crisp and precise parting.
2. Using a styling product of your choice, whether it be gel, oil, or leave-in conditioner. We recommend the Luxury Gold Hair Oil or the Argan Oil Deep Hydrating Hair Masque, smooth a pea-sized amount through the lengths of your hair, ensuring an even coating.
3. Take a brush or comb to gather the hair into a ponytail at the back of your head, however low or high you desire and secure it with an elastic hair band.
4. Now using a soft bristle brush, smooth the hair from the parting all the way into the ponytail to ensure any bumps are evened out. The hair should be sitting completely flat for the best slicked look. Retie the ponytail if needed, as any rough areas that have been brushed through will gather at the base. Clean up any loose, stray pieces with hair grips.
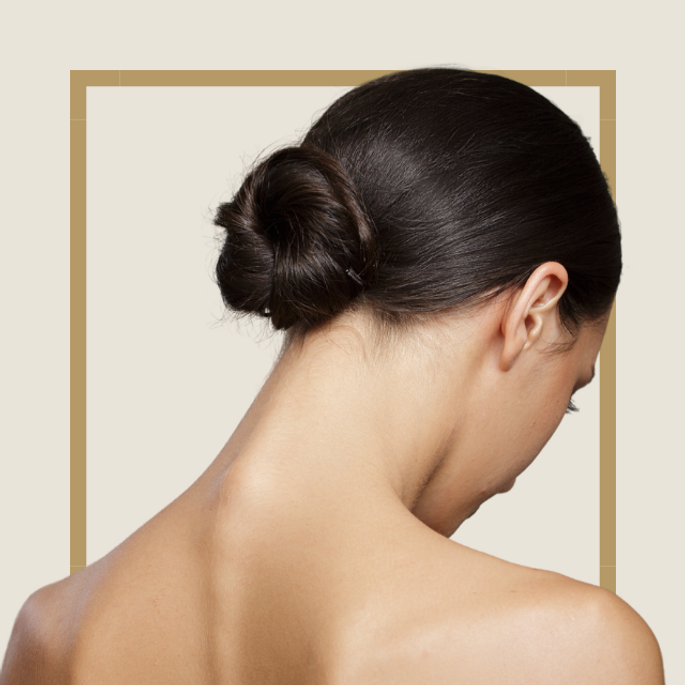
5. Take your ponytail in one hand and hold it at the base around the elastic hair band. Use your other hand to twist the length of the ponytail in and around itself, gathering it in a donut shape. Tie this with a second hair elastic. Now you have your bun!
6. Take the soft bristle brush (or even a clean toothbrush!), smooth any baby hairs or flyaways from your parting and set the style with a firm-hold hairspray.
7. Ta-Dah! The look is complete. You can customise this look according to your desires, experiment with plaited buns, spiky buns, or pull out face-framing sections.
8. To add more volume, try the Foxy Locks Clip In Ponytail before twirling your hair into its bun. Secure the extension using its clip in grip at the top of your natural hair ponytail, just above the hair elastic. Push this gently in to achieve maximum hold, then wrap tightly using the Velcro fastening. Take your ponytails together and wrap them both around each other to create your bun and voila!
We hope you enjoy recreating this look, why not show us your take on this style and tag us on Instagram? We can’t wait to see! @FoxyLocks