Reading Time: 3 mins

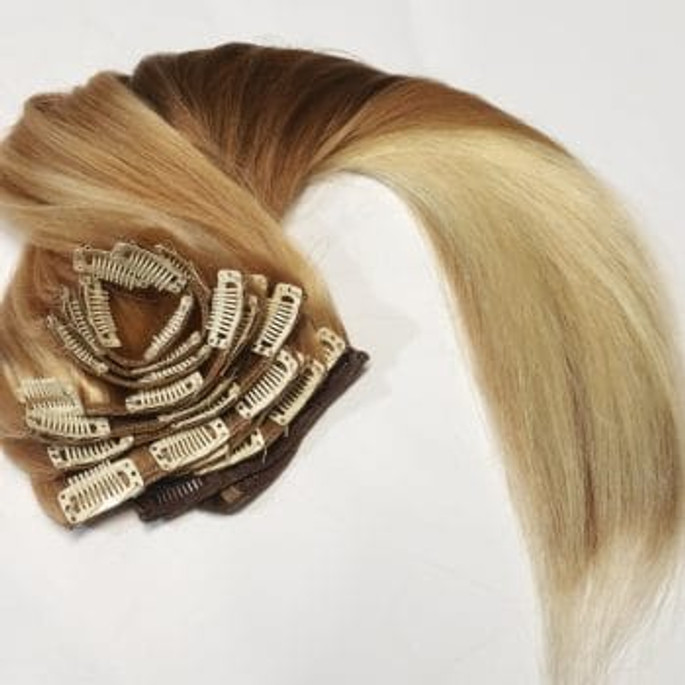
At Foxy Locks, we pride ourselves on offering high-quality clip-in hair extensions that will keep your hair looking at its best. We know that you’ll want to get the most out of your extensions, so it’s important to give them the right care and maintenance to ensure that they last. Washing the hair helps get rid of product build-up, refreshes their look and leaves them smelling clean and fresh.
We recommend washing your hair extensions every 15-20 wears or whenever you notice a build-up of hair product that could make them difficult to style. Follow our step-by-step guide on washing clip-in extensions to make your strands look and feel as good as new.
Step 1: Prepare your hair extensions
Before washing your hair extensions, be sure to brush or comb them to smooth out any tangles and knots to make them easier to wash. Start by brushing gently with a wide-tooth comb or a soft bristle hair brush from bottom to top to remove any tough knots without snapping or pulling the hair out. For ease, lay the wefts together in a bundle on a flat surface to do this.
Step 2: Fill the sink or bath with warm water
Ensure that your sink or bath is clean before washing your hair extensions, then prepare it by filling it with warm water and adding 2-3 pumps of moisturising, coloured hair-friendly shampoo to the water to create a soapy ‘bath’ for the hair. Avoid getting the clips wet by holding this section as you wash the lengths. Immerse the lengths of your extensions into the water and wash them gently. When you’re finished, lift the hair from the water and drain your sink or bath.
Step 3: Apply shampoo and conditioner to every weft
Your extensions are now ready for shampoo and conditioner. Holding your clip-in extensions at the top, apply your chosen shampoo to the hair and work this gently into the lengths of each weft to cleanse them thoroughly. Then, rinse it away and apply your conditioner from root to tip, setting each weft aside on a towel. Gently handling each one will prevent them from getting tangled. Conditioning the hair will help it remain smooth, shiny and manageable, so leave the hair products on for around 5-10 minutes before rinsing.
Step 4: Rinse your extensions
After shampoo and conditioner, you’ll need to rinse out your clip-in extensions thoroughly to make sure that any hair product is removed. If your extensions feel slippery after rinsing, this is a telltale sign that there is still product left on the hair, which can weigh it down and make it look greasy when dry. Rinse your extensions under a running tap of warm water until the water runs clear. Once the hair has been cleansed effectively, use cold water to seal in the moisture and make them softer, silkier, and shinier.
Step 5: Brush and detangle
When you’re finished rinsing your hair extensions, gently squeeze out any excess water from root to tip using a microfibre towel to remove moisture. Never rub them dry with a towel, as this can cause knots or even damage the hair. Use a wide-tooth comb or brush to smooth out the hair and eliminate tangles. This will help it to stay tangle-free once it has dried fully. You can also use a leave-in conditioner to add extra softness to the hair before drying.
Step 6: Leave to air dry
The best way to dry your clip-in hair extensions is by leaving them to dry naturally. You can do this by setting them aside on a towel or flat surface or hanging them in a well-ventilated area so that they can air dry. While switching on the hair dryer might be tempting for a quicker solution, it’s best to avoid this as it could damage your extensions.

Clip-in hair extensions give you the freedom to get your desired hairstyle in minutes. Protect them from damage and help them last longer by giving them the care and attention they need, following the steps mentioned above. This way, you can ensure that they are clean and maintain their moisture and shine.
If you’re looking for thick clip-in human hair extensions in the UK, shop at our store. Our hair extensions come in many styles, lengths, and colours, so there is an option for everyone.
Related Articles
The best brushes to use on your extensions


